


Best Tools for Mineral Collecting
Successful mineral collecting usually strongly depends on your tools. Starting out with quality tools will save you time and money and are much safer. The tools you choose will often limit what you will be able to dig or chisel out of the ground.
Please note: this article does not cover topics such as the choosing of proper clothes and other outdoor equipment. These are covered by another article about outdoor gear for mineral collectors.
Geology hammer
There are two basic types of geology hammers. The rockhound icon is the mineralogical hammer: a typical pick with a sharp tip. Sedimentologists and paleontologists use a hammer with a flat ended chisel. Even for a beginner, I would recommend starting with the common Estwing geology hammer with pick. Go for the heavier models with 850 g or 1200 g (22-oz) weight. Smaller 650 g hammers are too light for normal work. Similar and good hammers are produced by Forgecraft.
When it comes to your hammer, cheap is not an option. Do not buy any cheap crap hammers (despite the wild claims of their manufacturers). A superb Estwing hammer costs $30-50 and will last almost forever. I&ve tried several hammers that were in the $10-20 range: all failed within one year, some even on the first trip.
A geology hammer is a very nice tool for "light-weight" collecting trips, in other words, for basic work. But the small flat end and light weight makes the geology hammer quite unsuitable for chiseling or crushing bigger rocks. Many experienced collectors do not use the geology hammer at all and use a chisel and a small 2-4 lb sledge hammer instead.
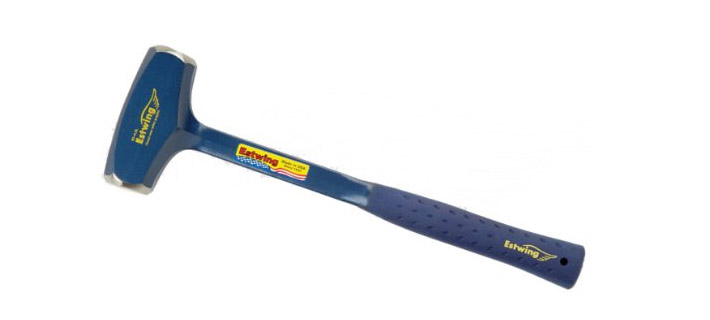
Sledge hammers
There is a sledge hammer for every occasion. You can start with 2-4 lb short handle sledge for chiseling and end up with a monster 40 lb sledge for crushing blocks of hard rock. The probably most universal tool is 4 lb Estwing sledge hammer with long handle. It is small enough for chiseling and heavy enough for crushing substantial rocks. And, happily, you can carry it almost anywhere. For really hard work use a heavy 10-16 lb sledge hammer. Whichever you use, if your sledge hammer has a wooden handle, do not forget to pack a replacement!
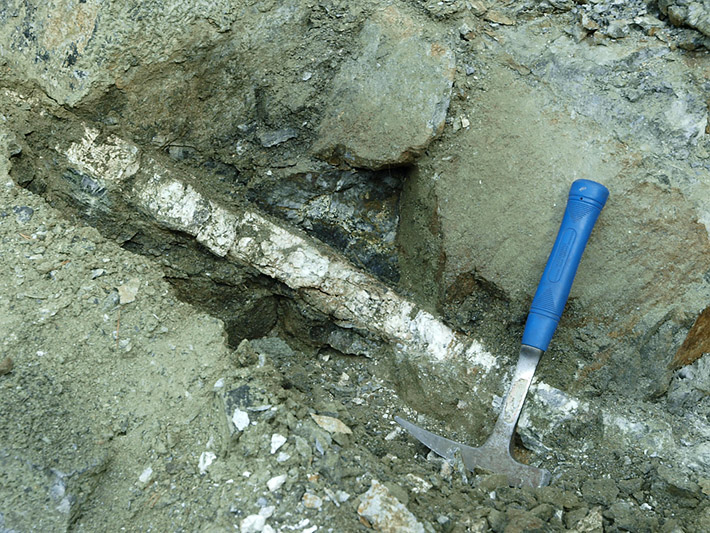
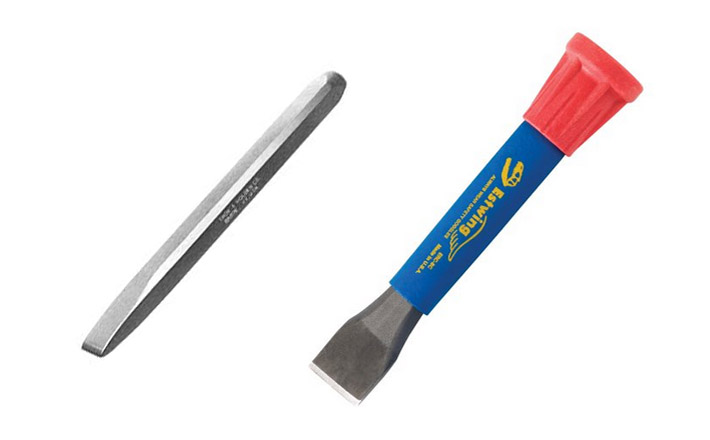
Chisels, hand points, and pry bars
Good chisel will enable you to split rocks or get material out of stone walls or boulders. Many collectors also use hand points, which are better for splitting rock, and pry bars to lift and move the pieces. Carrying decent tools is an absolute necessity. All of these: chisel, hand point and pry bar must be made of very good steel. Some of the chisels and points made for stonework have extremelly hard carbide tips. Some people advise buying cheap chisels because they will break anyway, but don&t. A cheap chisel sometimes break or go completely blunt after the first couple of blows with sledge hammer. Such a tool is useless and might be even dangerous. For extracting deep and narrow pockets, collectors use special long and thin chisels: these don&t have to be as heavy duty as your chisels and hand points.
Sharpening your special steel or carbide tipped tools might be a problem. Look for local stonework or construction companies who do this service.
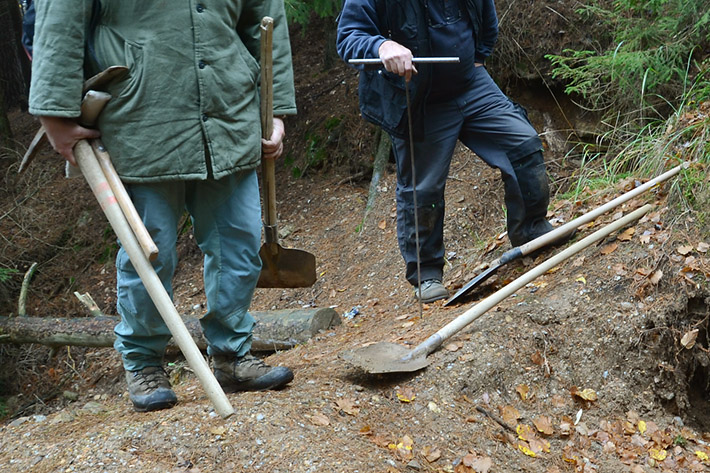
Pick and shovel
Collecting at many localities requires some soil or gravel excavation, so you should have a decent pick and good shovel. I especially like the ergonomic and unbreakable shovel by Fiskars. Estwing produces a nice heavy duty portable geologist pick. It is a bit heavier then it looks but works really well. There are many types and shapes of the shovels. I personally prefer an ergonomic shovel with a bent metal or hard plastic handle. A cheap common shovel with straight wooden handle is not very good for your back and is likely to break easily.
Mineralogical loupe
If you are looking for tiny rare minerals, a good mineralogical loupe is a must. There is very broad selection of 10x magnifying loupes. Most of the cheap "single lens" loupes are just that: cheap junk. A good loupe usually has 2 (doublets) or 3 (triplets) lenses attached together. A single lens loupe with good construction has thick lens called Coddington. Beware that many junk producers call their cheap single lens loupe triplet or Coddington too! Good loupes can be gotten for around $20-30; and very good ones usually go from $50 up. Good loupe is a must for all micromount collectors.

Some extra gadgets
Sometimes bigger heavy duty brush or toothbrush help with cleaning suspicious rocks. Metal screen is great for finding loose crystals in the dirt or clay. Small plastic bucket and few bottles of water are great for on-site cleaning. Wooden stick helps with cleaning pockets full of clay. Always use plastic or wooden tools for removing pocket clay - steel tools are too hard and could damage most minerals!
Mineral packing material
For wrapping your finds, always carry a huge pile of old newspaper. If your minerals are extra delicate, use soft toilet paper or paper towels to wrap them: these can be put into a plastic lunch box with newspaper to fill in any empty space. This prevents your prizes minerals being crushed by a heavy sledge or pierced by a chisel while you&re carrying them in your backpack.

Safety gear
Let&s face it: crushing and chiseling rocks is by nature not safe. Always wear safety goggles and use sturdy leather gloves to avoid being scratched and cut by the sharp edges of rocks and crystals. If you go into the quarry wear also hard hat and safety fluorescent vest. A hard hat is a necessity if you are working under cliffs, exposed rock cuts and steep slopes. Think of it this way: a fist sized rock falling 5-10 m could easily kill you!
How not to lose your tools?
All of us have forgotten tools on a site. Period. I cannot recall how many chisels I&ve left behind in my years of collecting. To avoid this tragedy, buy a good belt with a hammer holder. Do not put your hammer on the ground or you will forget it somewhere sooner or later! Lastly, spray your tools with some unnaturally bright color like fluorescent orange, lime or bright pink. It doesnt look that cool but at least you won&t lose your expensive carbide-tipped chisel in the pile of gray rocks!
What tools to take on a trip?
The more experienced the rockhound, the more tools he or she carries. Why? Because there is nothing more depressing then leaving nice crystals on the site just because you forget to pack that long chisel or sledge hammer! On the other hand, many sites are so remote that you are limited by how much you can carry in - and hopefully have the strength to carry them and wonderful new specimens out as well! It is wise to do some homework so that you know what tools would be the most useful.
Comments
Don Stuart said:
29.11.2015 02:58:48Always wear safety glasses or Googles when swinging steel!!